GitLab is a great open source Git repository management software for developers and software project managers.
GitLab ships with Authentiq out of the box since January 2017 giving you smooth passwordless authentication for your GitLab instance in minutes, for both the community and the enterprise edition.
Why should you do it
There are various reasons to use Authentiq on GitLab, the most important ones being:
- You need the additional security of 2FA without the bad UX of it.
- You want to eliminate the usage of passwords and the hassle of managing these.
- You like the convenience, but not the privacy part, of social login methods.
- You may want to prevent account sharing.
How you can do it
After installing GitLab on your preferred infrastructure you can enable Authentiq in less than 10 minutes by taking the following steps (these steps apply to GitLab’s Omnibus version, if you installed GitLab from source, see below).
Register an application with Authentiq
To enable the Authentiq OmniAuth provider for passwordless authentication you should first register an application with Authentiq.
Authentiq will generate a Client ID and the accompanying Client Secret for you to use.
Preferably you should store these as environment variables.
Enable OmniAuth in your GitLab instance.
For this step your should edit the GitLab configuration file:
sudo editor /etc/gitlab/gitlab.rb
If you have any issues you can check the official GitLab Documentation for additional instructions.
Add Authentiq as Omniauth provider and configure it
Now simply add authentiq in the omniauth_allow_single_sign_on array in the gitlab.rb file you opened.
gitlab_rails['omniauth_allow_single_sign_on'] = ['authentiq']
To configure it, add the omniauth provider configuration in the omniauth_providers array a few lines below.
gitlab_rails['omniauth_providers'] = [
  {
    "name" => "authentiq",
    "app_id" => "YOUR_CLIENT_ID",
    "app_secret" => "YOUR_CLIENT_SECRET",
    "args" => {
           scope: 'aq:name email~rs address aq:push'
     }
  }
]
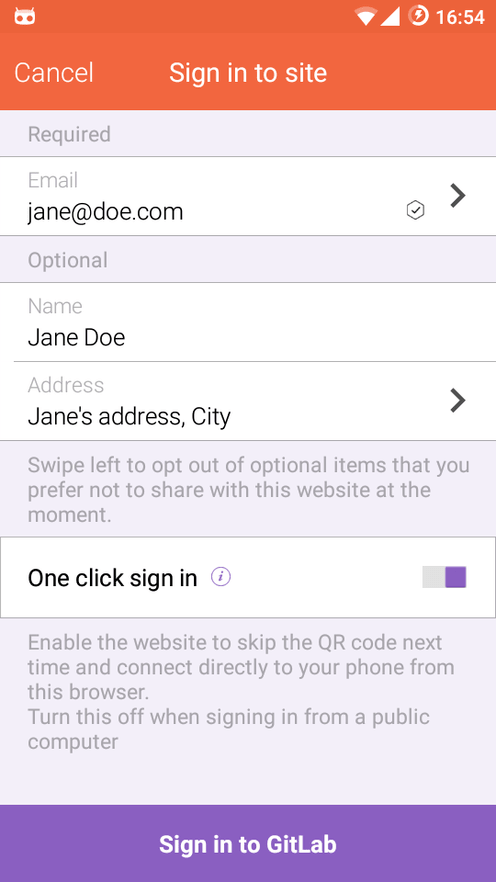
The scope is set here to request the user’s name, email (required and verified), address and permission to send push notifications to sign in on subsequent visits. See the OmniAuth Authentiq strategy wiki for more information on scopes and modifiers.
Change YOUR_CLIENT_ID and YOUR_CLIENT_SECRET to the ones that you received from Authentiq (the environment variables mentioned earlier).
Now you can save the configuration file and close it.
Using the source version of GitLab? Check the OmniAuth Authentiq strategy wiki for the equivalent instructions.
Restart GitLab
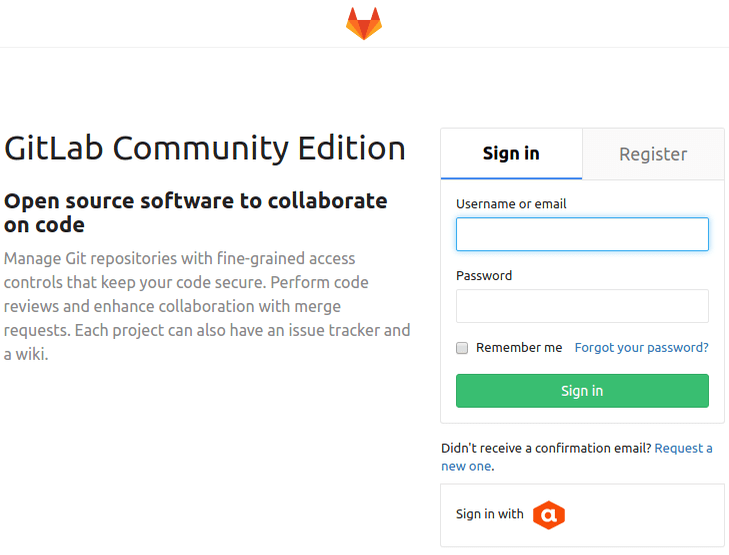
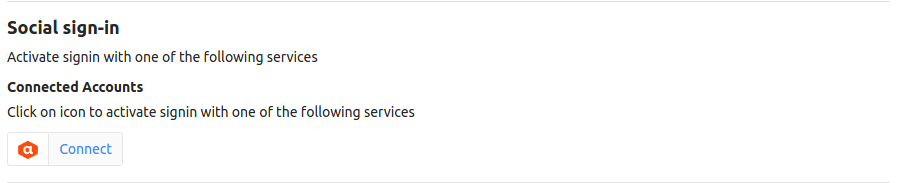
Reconfigure GitLab for the changes to take effect then and visit your GitLab page. On the sign in page there should now be an Authentiq icon.
OK I’ve done all this, what now?
Now you can do your first sign in with Authentiq to create a new user or connect your Authentiq ID to an existing one.
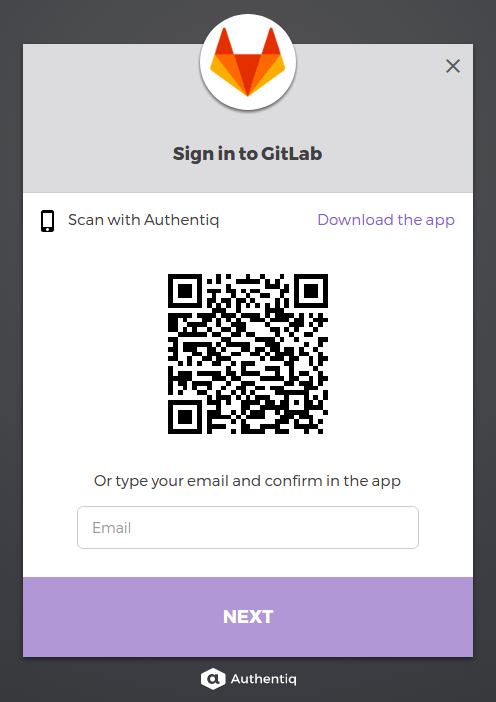
Press the Authentiq icon and sign in with your Authentiq ID (or connect a logged in account to your Authentiq ID from user settings).
Don’t have Authentiq ID yet? Just press Download app while signing in.
Anything else I need to know?
This configuration also provides a remote logout functionality out of the box. So, when you finish your work, even if you leave your computer while still signed in to GitLab, you can use your Authentiq ID app to sign out remotely.
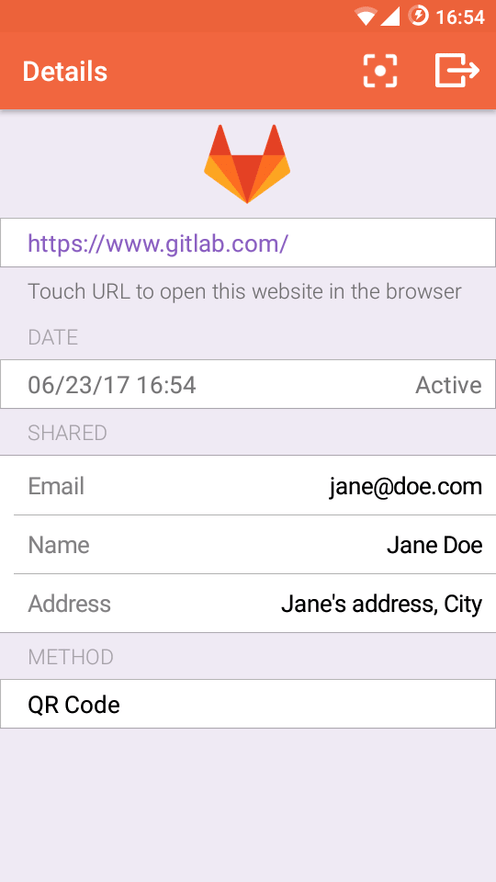
Additionally, we’ll soon add the option to update the user account information depending on what the user shares. For example, if the user changes address, upon the next sign in, GitLab can update the registered address to the new one, staying up to date with the newly shared data.
Lastly, if you want see how it works before configuring Authentiq on your GitLab instance, give it a spin on the GitLab demo we set up for you.
FAQ / What happens when…
The user that signs in does not have an account yet
Omniauth will create a new user account on the email that has been shared from the Authentiq ID app and add the provided name and an address to this new user’s profile.
If you have enabled the ‘omniauth_block_auto_created_users’ option, then the Admin has to approve the new account, before it is accessible.
The user that wants to sign in, already has a GitLab account
In this not so unusual case, the email the user wants to use is already registered.
So, trying to sign in with any non-connected method will fail with a 422 error saying that this is an existing account.
To link and use Authentiq ID for that account, the user should sign in first with username and password or another connected method, go to the account’s settings and connect Authentiq ID.
This process is described in detail at GitLab’s documentation
What’s next?
Like the experience? Inform your users about this new passwordless, privacy optimized sign up / sign in method and depending on your requirements, even disable username and password for sign in completely.
Still a bit skeptical? Drop us a line about your experience.
Don’t forget to subscribe to our newsletter to keep up-to-date with everything passwordless.